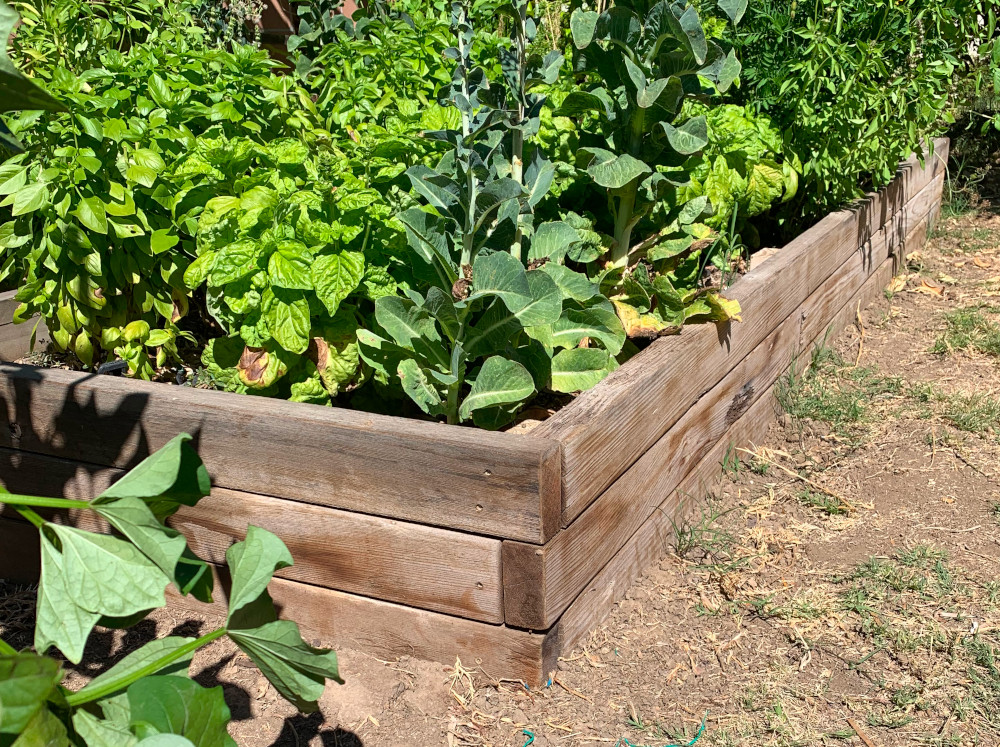
Raised garden beds help improve garden production and help keep everything neat and organized. Although you can find raised beds to purchase, to get a large and durable one is expensive. We looked at various materials and designs for building raised beds, including corrugated steel roofing panels, concrete blocks and wood.
Wood is a great material for a garden bed since it comes from trees and has that organic feel. We have some nice redwood beds we made from recycling the 4×4 posts and beams from demolition of a patio cover. We ripped the redwood 4x4s into 2×4 lumber, then stacked them and fastened them with deck screws to make some nice beds. Took a bit of work, but the price was right (labor and a few screws)!
When we were looking into making some new raised beds, we considered using cedar or redwood, since they are somewhat rot resistant, but the price of new lumber is high. Cedar 1×10 lumber is running over $8 a foot. So a 12 foot by 4 foot bed would cost over $250.
Another option is treated lumber, but it is not recommended for vegetable beds, since the chemicals used may get into the soil and plants. About 20 years ago the arsenic used in treated lumber was replaced with copper based compounds that are less toxic. Still, there are some concerns about the chemicals in the treated lumber, so we took that off our list.
Untreated lumber, like fir, could also be used. The concern is how long it would last in contact with water and soil. In our dry climate, maybe it would be ok. Something we may test out in a future garden bed.
In the past we had built some garden beds using cedar fence pickets. They are only about 1/2 inch thick, so have a tendency to bow out from the pressure of the soil inside them. Also they are about 7″ to 8″ wide, and we like our beds to be at least 10″ deep.
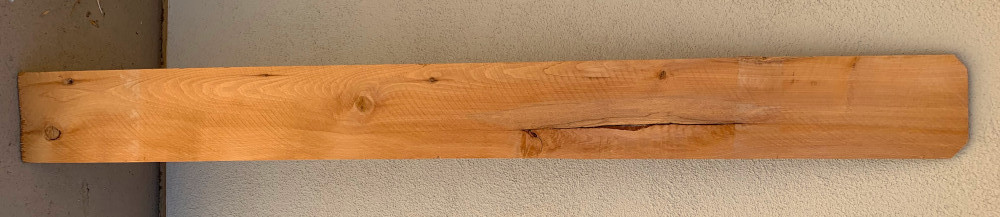
Time for a new design. We used those cedar pickets, but doubled them up to get more rigidity. The pickets are nominally 9/16″ x 8″ x 6′, with the 8″ width actually close to 7 1/2″. We wanted a large bed at 12 feet, so used two pickets for the length. We wanted more depth to the bed, so when doubling them, we also raised one layer 2 1/2″ to make the depth of the bed 10″. To make the joints more solid, the joints were staggered between the two layers. We used redwood 2×2 posts at the joints to make them more solid and resist the bowing out of the sides.
We happened to have the redwood laying around (from that patio cover demolition project) making it an easy choice. This design takes some cutting and a liberal use of screws to put it all together, but not too difficult to construct and at a reasonable price.
Materials List
| Item | No. | $ | Total |
| Cedar Fence Pickets 9/16″x8″x6′ | 11 | $5.12 | $56.32 |
| Redwood 2×4 8′ | 1 | $11.88 | $11.88 |
| Deckmate 2″ screws | 1/2 pound | $11.28 | $5.64 |
| TOTAL | $73.84 |
Tool List
- Saw
- Tape Measure
- Carpenter’s Square
- Chalk Line (optional)
- Pencil
- Drill and bit
- Electric Screwdriver
Assembly Instructions
Leave 6 of the pickets uncut. The other 5 are cut to make a 2 foot piece and a 4 foot piece. The result is 6 pieces at 6 feet, 5 at 4 feet and 5 at 2 feet.
For the 2×2 posts, you could buy 16 feet of 2×2 redwood, or rip a 2×4 in half and cut into 12 inch posts. We used 13 inch posts, since we had the redwood in long enough pieces. The extra inch goes in the ground, but 12 inches should be just fine.
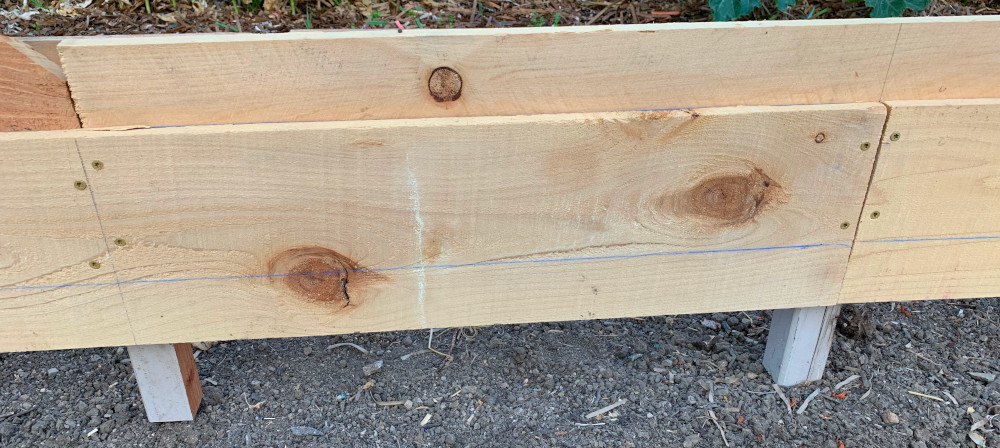
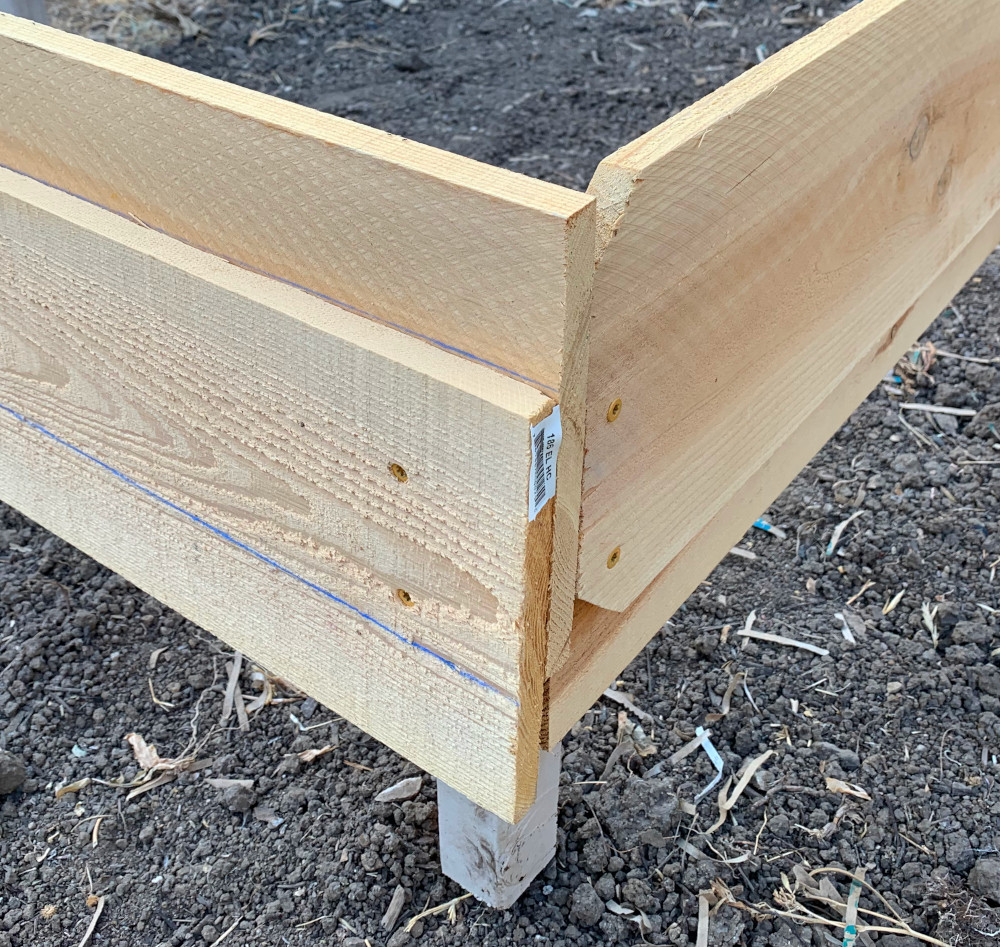
To assemble the sides and ends we put a chalk line at 2 1/2″ from one edge of the picket to be a guide in putting the two layers together. You can see that chalk line in the photo above. If you look closely you can see hints of the chalk line on the board in the back lining up with the top edge of the front board.
Put 5 of the posts down on a flat surface with 2 feet between each post.
Place 2 of the full 6 foot pickets end to end on the posts. These will be the outside pickets of the bed. Considering the full 12 feet, the posts will be at 2 feet, 4 feet, 6 feet, 8 feet and 10 feet. Posts at the ends will come later
The inside pickets will be 2 1/2″ lower than the outside. So place a 2 foot piece at one end and align at that 2 1/2″ line on the outside picket. Then place a full 6 foot picket lined up the same way at the 2 1/2″ line. Finally a 4 foot piece will complete the full 12 feet for the inside layer.
Start with the post at 2 feet, it will be where the 2 foot piece joins the 6 foot full picket on the inside.
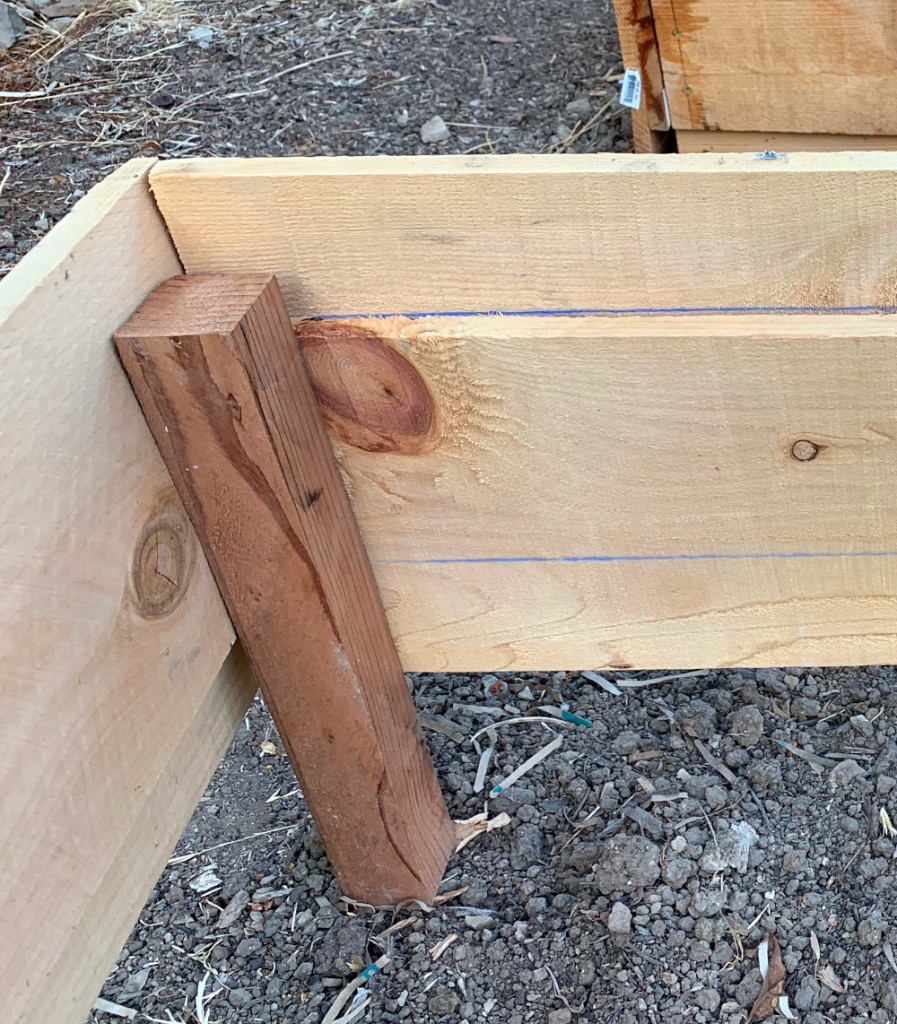
Line up the post so 3 1/2″ extends below the bottom of the inside picket and it is centered on the joint between the 2 foot and 6 foot pieces. We will put 2 screws on each side of the joint. Before putting in screws, drill pilot holes for each screw. Stagger the screws and make sure they go through the inside piece, outside piece and post. Since the pickets are “dog eared” on one end, you may need to adjust the screw positions to make sure they hit both pickets and the posts.
The next post is at 4 feet. There is no joint at that position, but for symmetry and a more solid construction we put a post there anyway. Continue with the other posts in the same manner.
Since the ends are 4 feet, we simply put two 4 foot pieces together. Just put a post in the middle at 2 feet with the same process as above.
Repeat for the second end.
Now we’ve used all 5 of the 4 foot pieces, so when putting together the second 12 foot side piece, we’ll use two full 6 foot boards on the outside as before, but the inside will have one 6 foot board and 3 of the 2 foot boards. Otherwise all is the same as before.
For the corners, the posts will go on the inside. Flip the sides over so the posts are facing up, then put the screws from the outside into the post so the edge of the post lines up with the end of the side boards. Repeat the other corners.
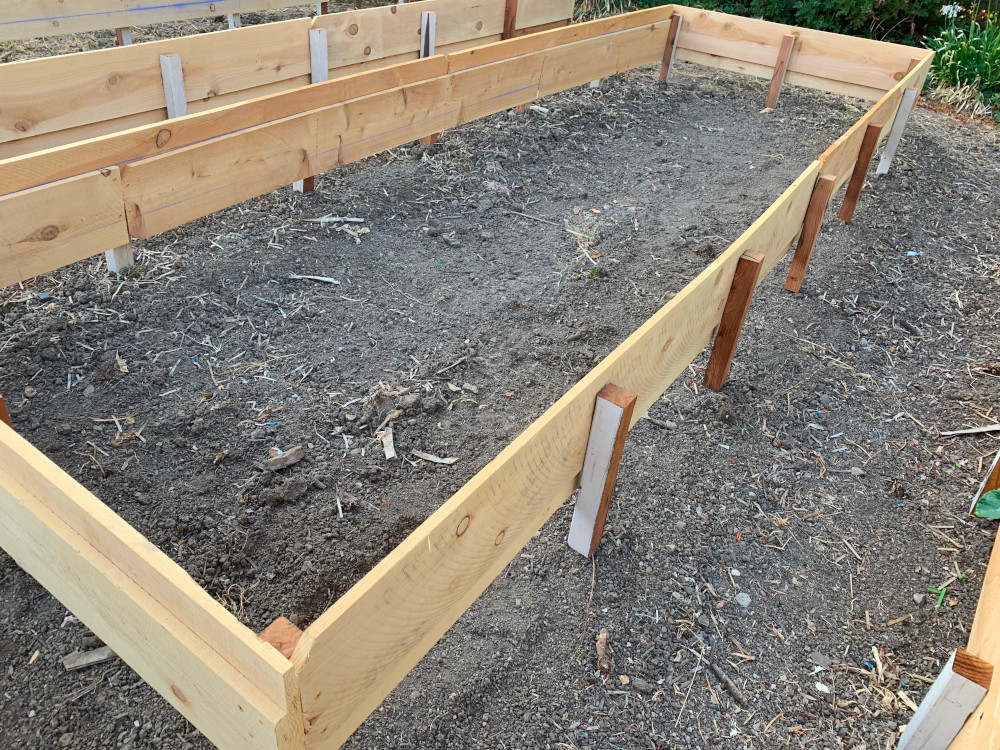
Now we have two full sides and two ends ready to assemble. You can assemble the pieces then move to their final location, or to make it easier to transport, take the sides and ends to the final location and assemble there.
The assembly is pretty simple, just attaching the ends to the sides. A couple extra hands will be helpful to hold the pieces in position. NOTE: the ends have the posts to the inside, which aligns the higher board on the ends with the higher board on the side. If desired, you could put the post for the ends on the other side when assembling the ends. We tried both ways and it is fine either way.
Now that the raised bed is put together, just need to put in the final position, dig hole for each post, then adjust to get it all level.
Then time to fill with good garden soil. The bed is 48 square feet, so to fill 7 inches deep will take 48 times 7/12 or 28 cubic feet of soil. That is just over 1 cubic yard (27 cubic feet).
Since our soil is a heavy clay loam and somewhat compacted, we made the effort to dig more than a foot of the existing soil and added some good organic amendment to that underlying soil before filling the bed. We hope that will provide a good deep soil for the future garden plants.

Hopefully this gives you one good way to make raised beds, or at least inspires some new creations. Would love to hear any comments or suggestions regarding raised beds.
Happy growing!
