Our first shallot experience was planting shallot bulbs purchased from the grocery store in one of our raised beds. We planted in late fall. They grew well and produced a reasonable harvest of bulbs the following summer. It was an encouraging start.
The second shallot experience was again planting shallot bulbs from the grocery story but this time raised bed space was not available so we planted in a new herb bed that had minimal soil improvement. The shallots sprouted but never really took off with significant growth. The following summer there was limited bulb growth and many of the shallots started flowering. We let them flower and collected the seeds, but no bulb production!
Planting Shallots – 2021
Our next shallot experiment began by testing how those collected seeds would produce. The saved seeds were planted December 12, following harvest of sweet potatoes. Two closely spaced rows were planted. Not knowing what the germination rate might be, seeds were planted fairly close together. Seedlings started popping up in 3 weeks with good germination. In hindsight, additional thinning would have been helpful!
Harvest & Curing Shallots- 2022
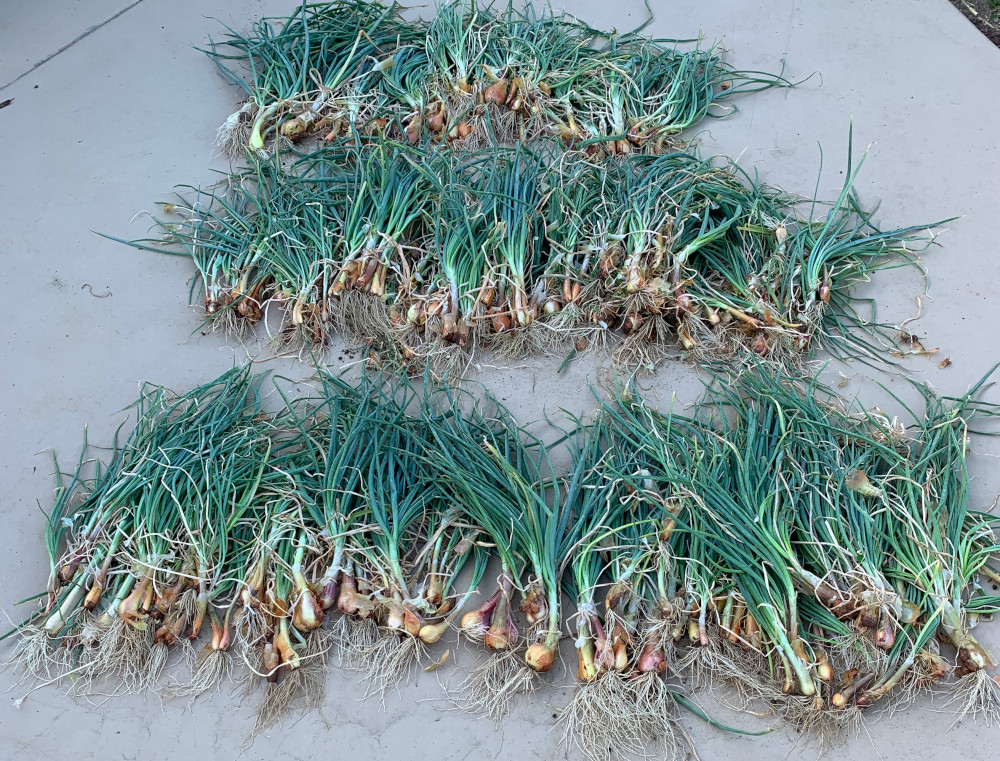
We dug the shallots first of July and had a good crop of shallots. However, many were on the small side, probably due to being too crowded. We left some of the shallots in the bed to see if they would continue to grow. They did, so we probably would have gotten larger shallots by leaving them in the ground a couple more weeks. Where the shallots were more widely spaced they were generally larger, so a good lesson learned here is to thin them to around 3” spacing to get larger shallots.
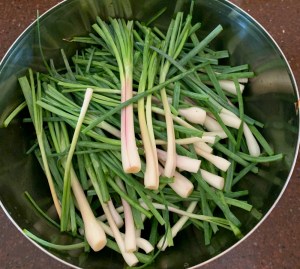
We separated out the smallest of the shallots and cleaned them up to use like scallions. There was a nice bunch of them. They made great additions to a number of tasty meals!
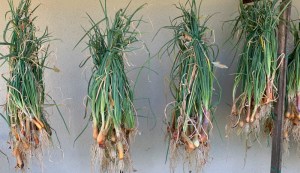
Shallots were bunched together and tied to hang for curing (drying). They were kept in the shade to avoid getting sunburned or prematurely roasted in our hot summer sun.
After a month most of the leaves had dried, though surprisingly a number of them still had some green leaves. The dried ones we considered cured and ready for storage. When dry they should keep well. The ones with green leaves were left to dry some more. Storing them with moist green leaves is a good invitation to mold and spoilage. On August 24, some shallots were still showing green leaves! A bit surprising to see them still with green leaves after 55 days of drying outside. Many days were over 100 degrees with humidity down to 10%. It is interesting to consider why some seem very stubborn in wanting to keep growing. One observation is most of the resistant ones are smaller. Maybe the smaller ones are best eaten fresh instead of trying to dry them. These green ones are still very edible, just need to eat them first, as more moisture in them will lead to quicker spoilage.

Cured shallots were sorted and inspected. Any with damage or signs of decay were sent to the composting department. We cleaned the bulbs up a bit by peeling off excess layers of skin and separating the ones that had divided into multiple bulbs. The intention was to open the bulbs up to get air circulation to store longer.
Shallot Harvest Evaluation
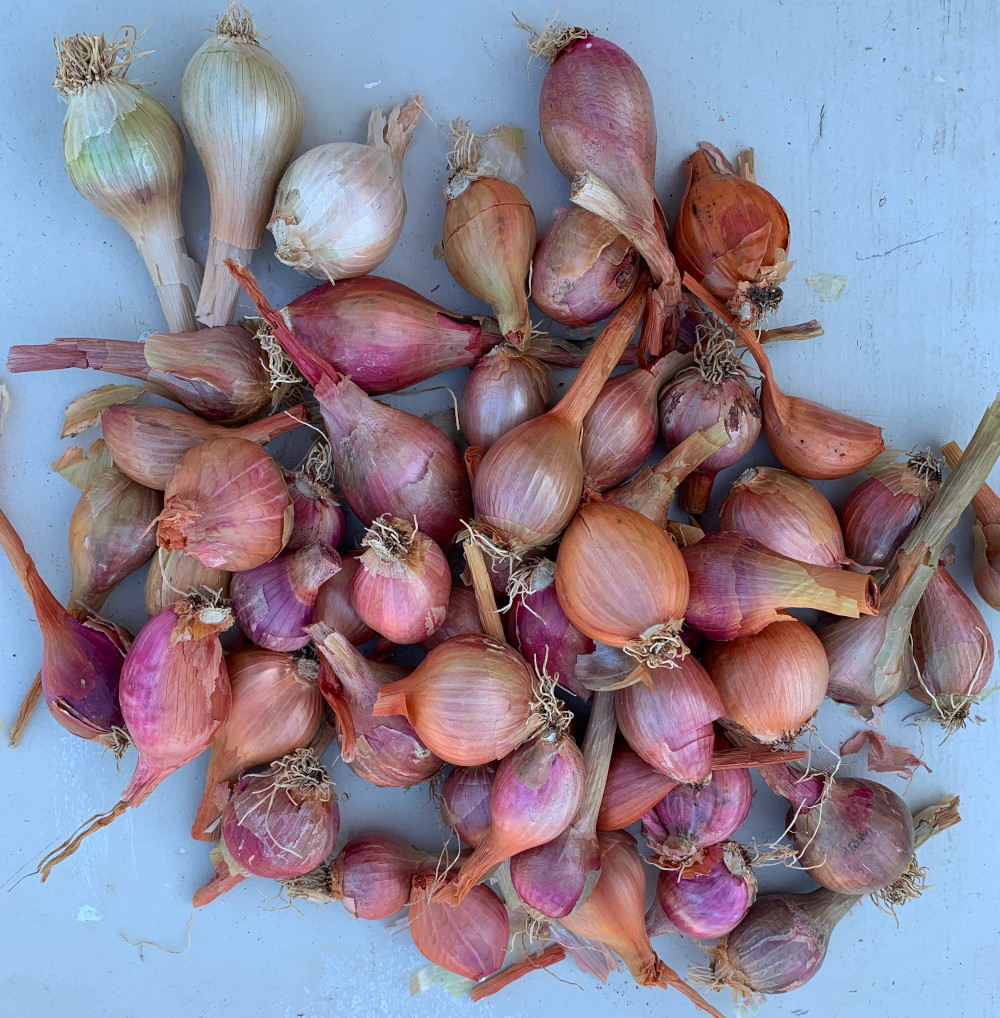
We did some rough size sorting of them and had about a dozen large bulbs (over 1.5 inches) that weighed in at 1.2 pounds. About 2.6 pounds were medium sized, between 1 inch and 1.5 inches. The small ones, including the still green ones, weighed in at 3.3 pounds. A total of 7.1 pounds. Enough for a few months of good eating.
When using for cooking, the small ones are more work to peel and prepare for the amount of edible content. A good reason to go for the larger sizes in the future. Nearly half our production by weight was smaller than optimal for cooking purposes.
We also noticed that there are 2 or 3 varieties of shallots. Most had a reddish copper colored skin, but a few were white. Since they came from the same batch of seeds, maybe the original shallots were a hybrid. Looking at shallot seed varieties, some of the popular ones are F1 hybrids. Our next round may include trying some known varieties so we have more predictable results.
The next experiments will be doing a test to compare the production from planting seeds to planting bulbs. Questions we will be looking to answer are:
What is the yield from planting bulbs? How many bulbs do we get from each original bulb?
Is there a difference in yield planting large versus small bulbs?
What will the production be from seed, when properly thinned?
Shallot Lessons Learned
Main lessons learned are to thin shallots to about 3 inch spacing to allow for larger bulb growth, and to leave shallots in the ground longer before harvest to get full production. The leaves should start dying back before starting harvest, but we were a little over eager last season!
Shallot Planting – December 2022

We prepared a bed for planting in early December 2022. This will be the next shallot experiment. Half the bed will be for shallots, the other half for other crops. A couple bunches of shallots from last season are still growing. We are leaving them in as an experiment. Will they give us some good large bulbs? Or maybe go to seed?
We also planted some of the medium to smaller bulbs from last season. We’re giving them more space this year so they will have room to give some larger bulbs. Then also planting 2 rows of seeds. Some are from our saved seed, same as last year. Other seed is Zebrune variety, from Botanical Interests seeds. These are an heirloom variety, not an F1 hybrid. We prefer the heirloom, open pollinated seeds as we can potentially save seed from them for future growing.
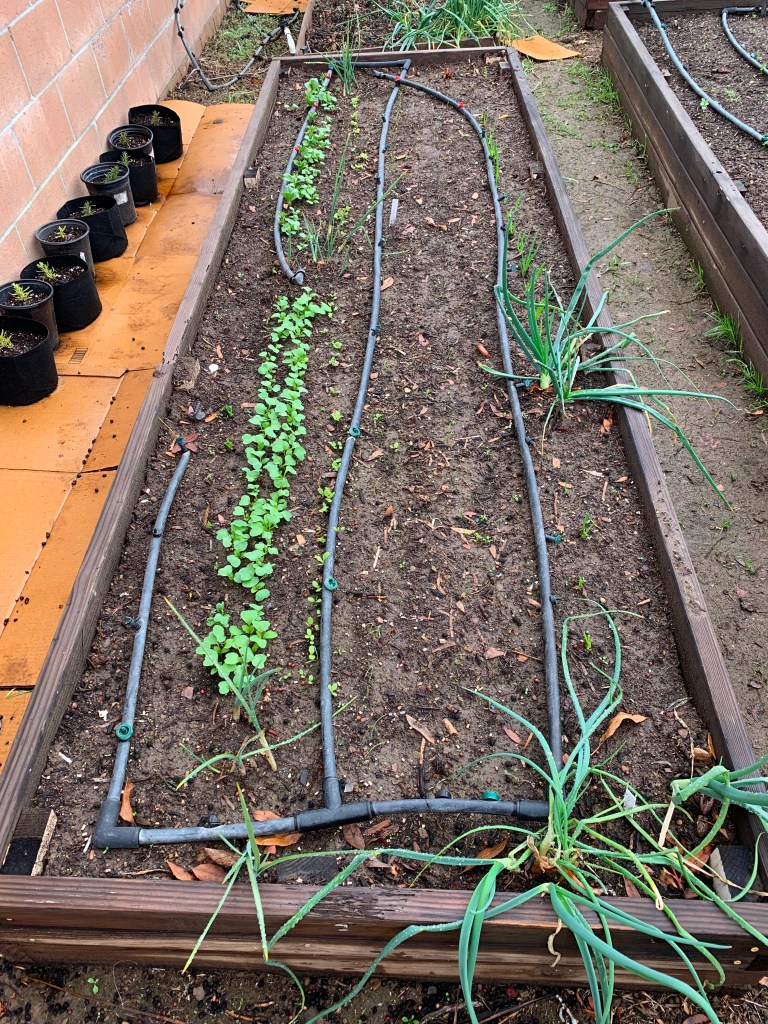
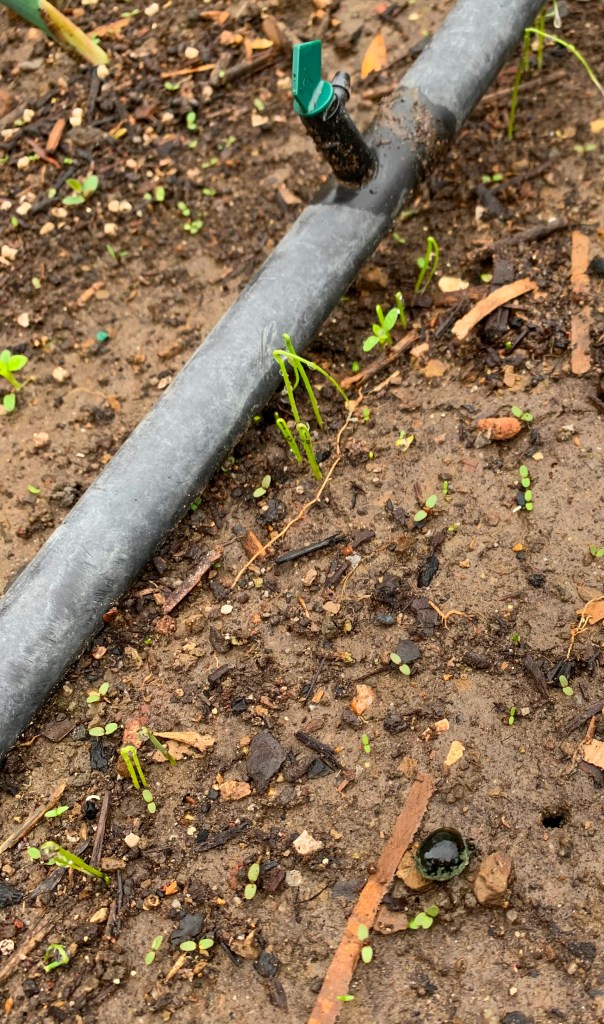
The shallots started popping up by late December. The bulbs were planted on the right side of this photo and are coming up nicely with a few leaves on each plant. The seedlings are also germinating, but are still small in the middle of the bed. See photo below. There is also a row of mesculun, then radishes that are up nicely, and a few fava beans just starting on the far left side of the bed. A few bunches of dutch iris are stuck in there, just for fun and spring color.
Looks like we are off to a good start for shallot harvest next summer!
